Knowing how to clean a wood stove and the chimney it uses is vital both for the proper operation of the stove, as well as to avoid any accidents, sooth and smoke buildup, and the health hazards that can come from that. The process for how to clean a wood-burning stove is fairly simple and straightforward, in principle, but it takes time and it should be done thoroughly and completely without missing any of its steps – understanding how to clean wood stove glass or how to clean the outside of a wood stove is just as important as simply emptying and quickly cleaning the inside of the stove and the chimney.
So, let’s go over the step-by-step process so that we don’t miss anything.
Make sure the stove is cold
Never try to clean a stove that’s been used recently – not only are you going to risk burning your hands but there’s also the risk of a hot piece of call falling out and creating a house fire. Make sure that the stove is cold to the touch and all the coal and wood in it is completely cold as well.
Take apart, empty, and examine your indoor chimney
Indoor chimneys can come in a lot of different shapes and sizes so we won’t try to cover all variations here. However, regardless of what exactly your indoor chimney looks like, it definitely needs to be cleaned at least once per year together with the stove. To do that, it’s a good idea to first mark the chimney lines and screws so that you know how to put it back together after you’ve cleaned it. Then, just take it down, remove any clutter from it, and clean its inside walls from any creosote buildup. After that, just put it back together again. It’s a tedious process but a very important one as unkempt chimneys are one of the main risk factors for people with wood stoves or fireplaces.
Clean the outdoor chimney as well
 This is the trickiest and riskiest part of the process as your outdoor chimney will likely be on the roof. This means getting a ladder but also having a buddy with you for extra safety. Once you’re sure everything is OK, get next to the chimney and pull off its cap. Then, get a long chimney brush and run it down the chimney as well as possible to remove any creosote buildup from its inside walls. This will force it down to the stove where you can clean it off.
Clean the spark box vent too
Not all chimneys have a spark box vent, however, a lot do. These vents tend to get clogged pretty easily so they also need to be cleaned regularly – often more so than the stove itself. Fortunately, this is an easy step of the process but it’s one you shouldn’t forget.
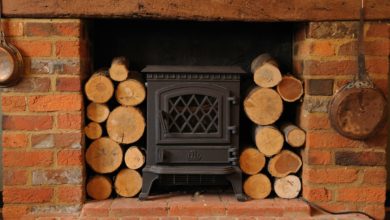
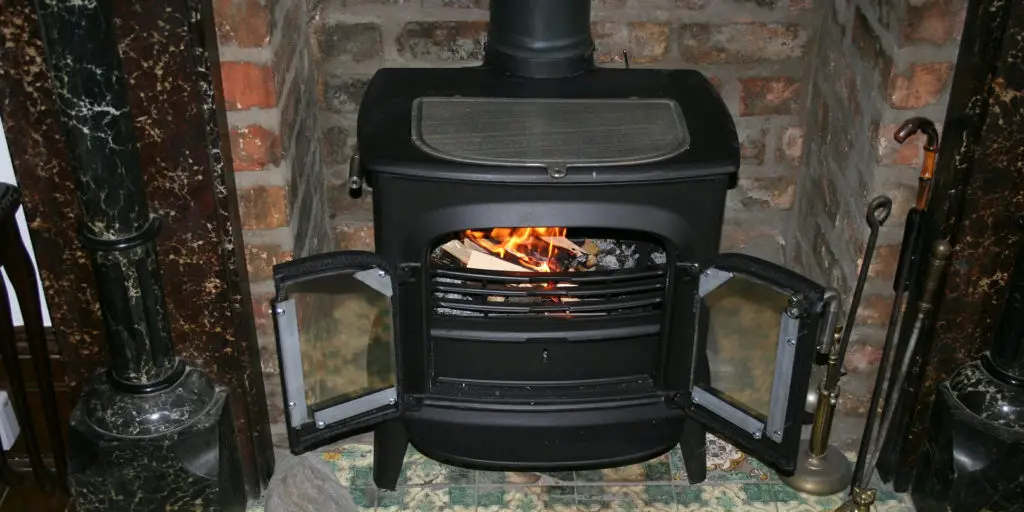
Empty out and clean the firebox
The firebox is the part of the wood stove where the wood is loaded and burnt. It’s one of the most important parts of your wood stove and should be decluttered and cleaned first. To do this, get an ash bucket and a shovel, and remove the contents of the firebox. Next, simply clean the firebox from any sooth buildup so that you can see the fire brick and the inside walls clearly. Now would also be a good time to inspect the firebox and check if you need to do any repairs.
Don’t forget to clean the stove’s glass door thoroughly
Get a glass cleaner and go to town on the glass door of your wood stove. You want it to be spotless clean so you can have a good view of your stove when it’s working.
Remember to empty and clean the ash box and the ashtray as well
This, of course, is something that you need to do more regularly, but since you’re cleaning your entire stove you might as well empty and clean the ash box and the ashtray as well.
Put it all back together
Not that everything has been properly cleaned, it’s time to assemble it. The first thing you should reassemble is the outdoor chimney which usually means just putting its cap back. After that, put the indoor chimney and the spark box vent together, and then move to the stove.
As you’re working on your wood stove you might want to oil it up as well as this is the best time to do so. Almost any type of oil will do as long as it’s safe for wood stoves and it can give your wood stove a nice and shiny look.
Sweep and clean your floor
Unfortunately, this whole process is likely to leave a lot of ash and dirt in your home. That’s why it’s best that you remove and cover up as much of the furniture as possible before you even start. And once you’re done with the chimneys and the stove – it’s time to clean your home.
Enjoy!
And that’s it! Now you can happily and safely watch your wood stove do its magic.