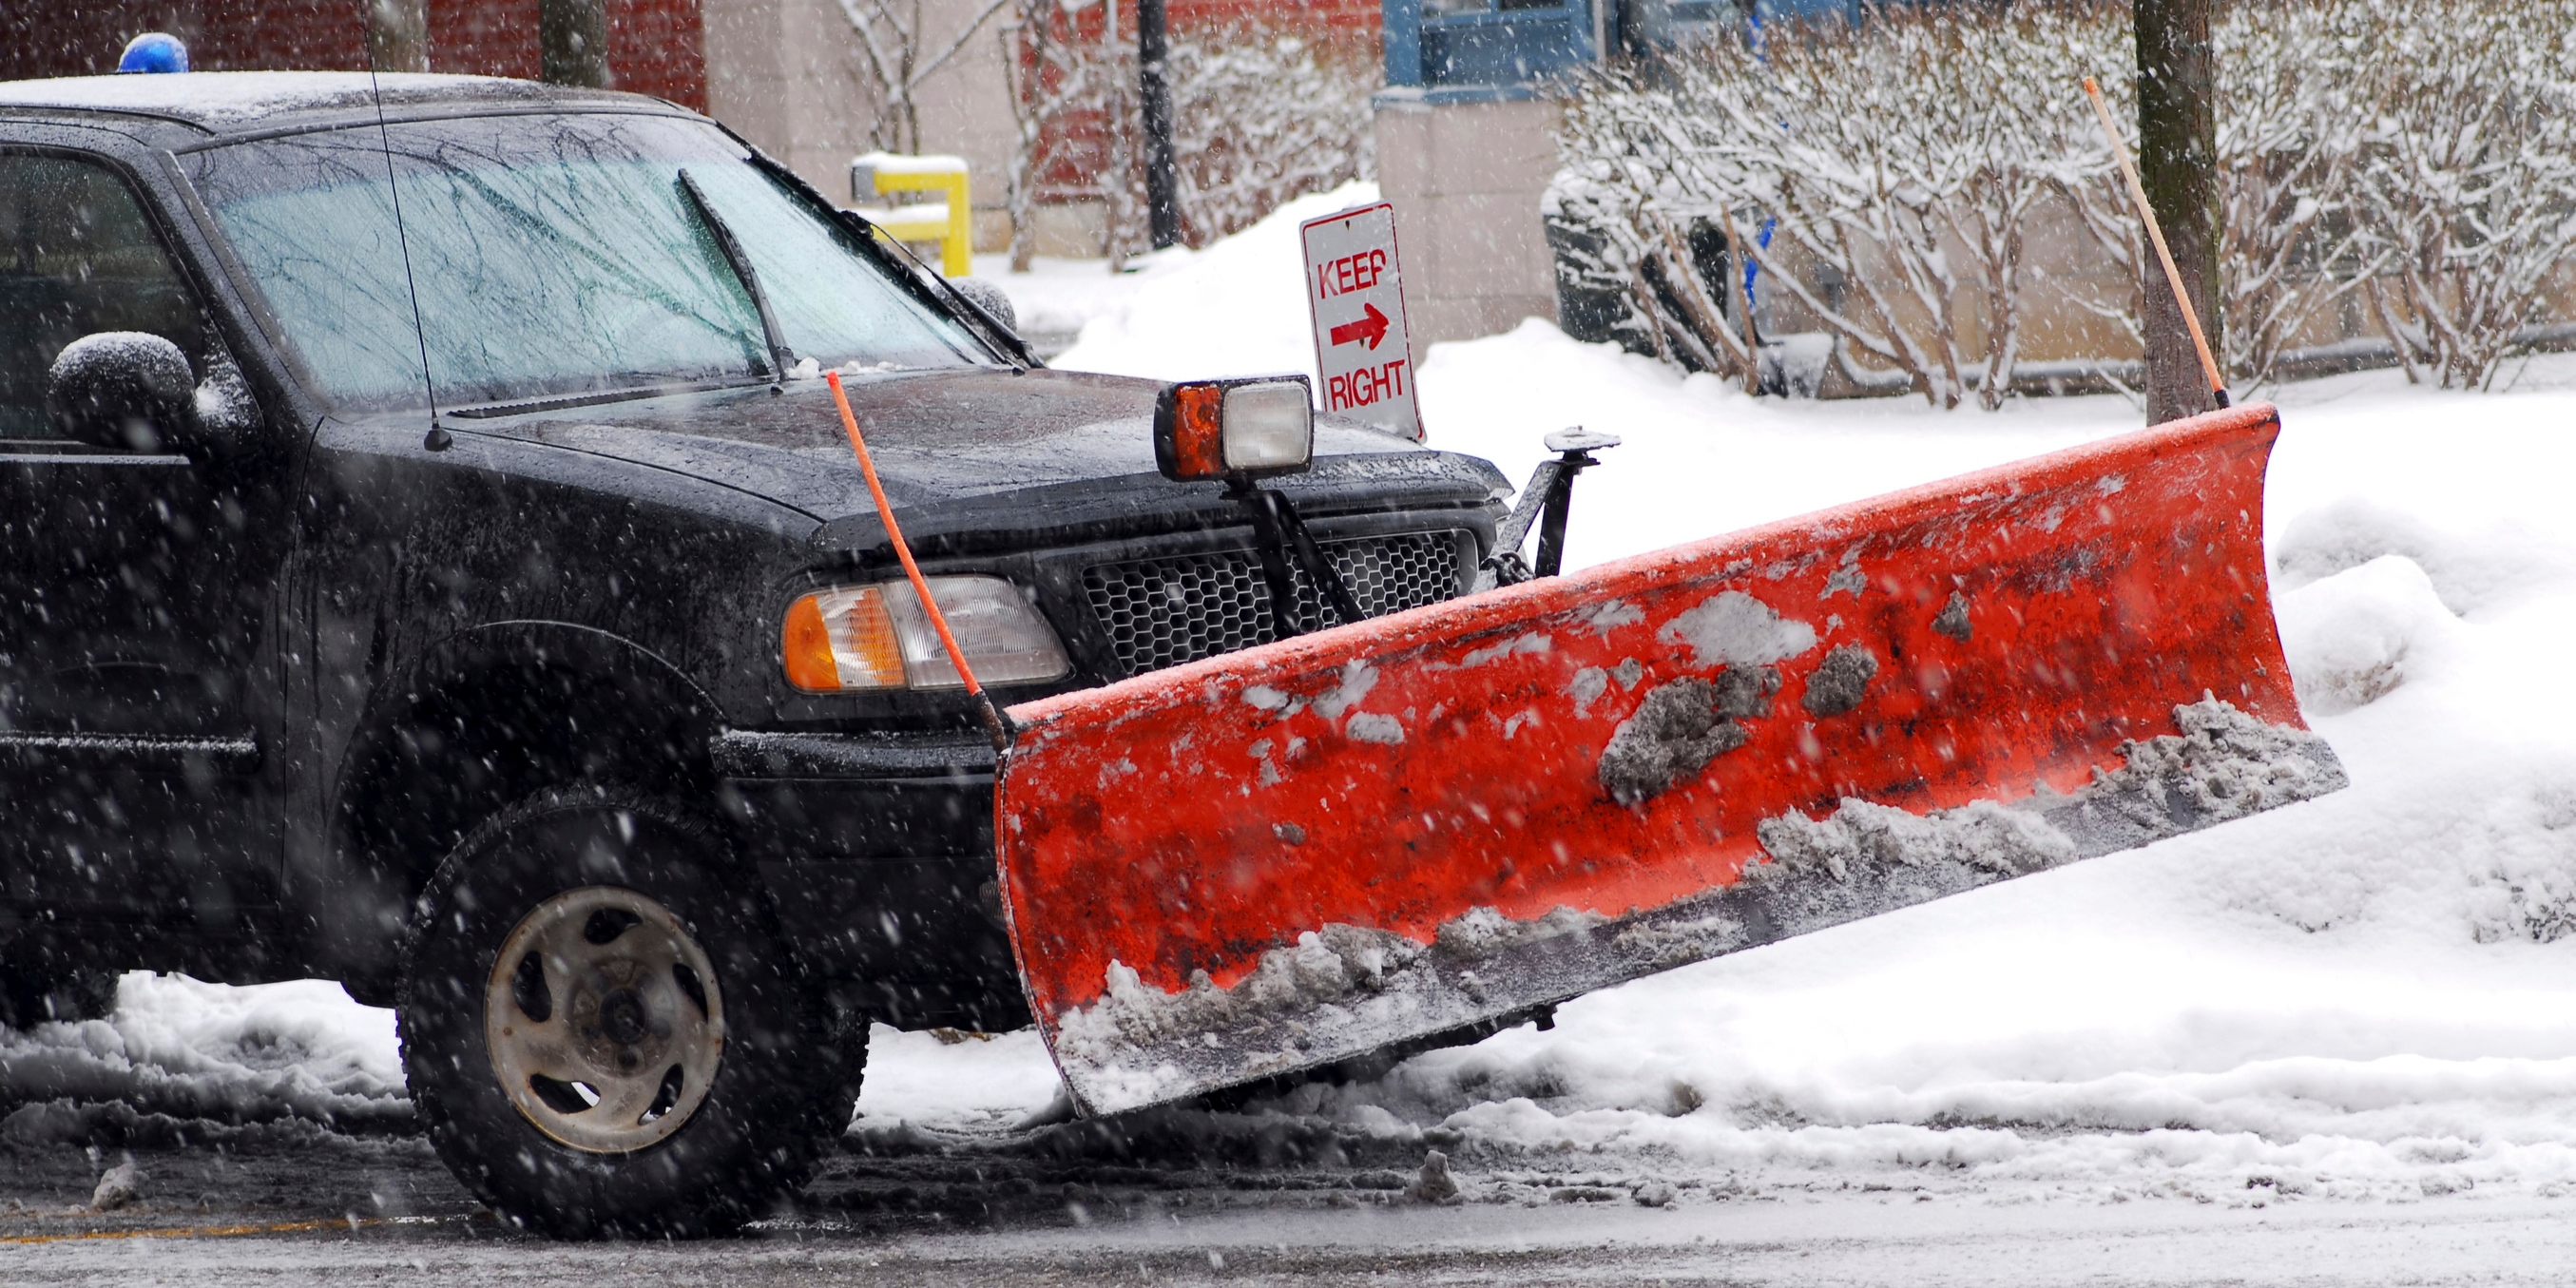
If there’s one thing we could say about this year’s winter it’s that we can’t say anything for sure about it. The weather is becoming more and more unpredictable every year and that means that every homeowner needs to be ready for anything. This becomes a problem when we’re talking about big and expensive tools such as snow plows, however. What’s worse – snow plows are emergency-only tools that are not used often and end up being even more expensive per use.
To remedy that, we thought we’d assemble some easy steps for how to make a homemade snow plow. The thing about DIY snow plows is that they can come in different designs just like commercial ones. Still, to keep things simple, we’ll go over the two most basic types of plows you could make.
DIY frontal plow for a 4-wheel drive
What most people imagine when they think about snow plows is a big blade that’s attached to the front of a truck to push away and/or scoop the snow. This is a tricky contraption but if you have the right tools you can make it yourself.
- Build the frame & angle of the blade. You’ll need at least a second set of hands for this one, as well as several large steel pieces to act as a frame, a propane torch, and a big wrench to bend the metal to the right shape – a slightly bend snow plow. Two long transversal pieces and three or four vertical & bend pieces attached to them should make a nice frame for a snow plow blade.
- Next, cut a piece of a metal plate in the shape of the frame and weld it on top of it.
- Add a strip of strap iron to the bottom of the plow to strengthen and even the edge of the plow.
- Mount your DIY snow plow to your vehicle.
DIY rear plow for a tractor
Another type of plow you can make is one that’s to be mounted at the back of a tractor. Such plows are meant to be dragged behind a tractor. Its goal isn’t so much to remove the snow but to smooth and pack it so that you can drive over it with another vehicle.
To make such a tractor-dragged plow you simple need any flat and big piece of metal you can strap behind the vehicle. If necessary, you can reinforce it by welding a frame to it but the most important part here is that you need to add a weight on top of it- something to weigh it down and help it press the snow as much as possible.
From there, all you need to do is attach it to the back of a tractor or a 4-wheel drive that can make it through the snow, and simply make several passes over your driveway until the snow has been both pushed aside and pressed into a smooth and safe surface.


