Whether you’re a new homeowner or a seasoned one, heaving your chimney leaking can be very annoying. What’s worse, fixing it takes time, effort, and quite a bit of roof climbing. Alas, it has to be done. So, what is chimney flashing and how to flash a chimney? It’s a several step process so let’s get into it.
Remove the old flashing
Whoever installed your chimney must have flashed it as well. So, you’ll need to remove the old flashing or whatever’s left of it before you do anything else. Just get a hammer and a chisel and scrape away all the remains of the old flashing around the chimney as well as the cement underneath it.
Order and cut bent base flashing
You can get the bent base flashing for your metal roof chimney flashing from any adequate sheet metal shop. Then, just measure the chimney’s base, including the angle with the roof and cut the bent base flashing to fit your chimney as precisely as possible. Bend one side of the flashing to fit with the lower side of the chimney, then the other side of the flashing should fit with the roof itself. This will cover the lower part of the chimney and a bit on the side as you can also cut the flashing to attach to the two neighboring sides of the chimney.
Secure the base flashing
After you’ve placed the properly-cut base flashing to the lower side the chimney, use 4 or more galvanized roofing nails to hammer the flashing into place. Make sure the nails are spaced out well and the flashing is stable.
Attach additional corners and step flashing
Next, cut and fit two ~8-inch pieces of metal flashing over the chimney’s front corners, covering the already laid out flashing and the still naked sides of the chimney. Once you’ve cut the flashings, put them aside put several small drops of chalk where the roof and the chimney meet at the corners.
 Place the small flashing pieces over the chalk and hammer them with two roofing nails each. Then, secure a shingle over the corner flashing and secure it with a nail as well. After you’ve covered the two corners, continue going upwards with more pieces with more step flashings the same way until you’ve covered the base of the chimney.
Secure the roofing saddle at the top side of the chimney
You can get a roofing saddle from any sheet metal shop together with the bent base flashing. Its purpose is to prevent snow and water gathering at the upper side of the chimney. To attach and secure it, simply fit it around the back of the chimney, nail it down to the roof with roofing nails spread along its edge at 6-inch intervals, then place shingles over the flat part of the saddle and nail the shingles as well.
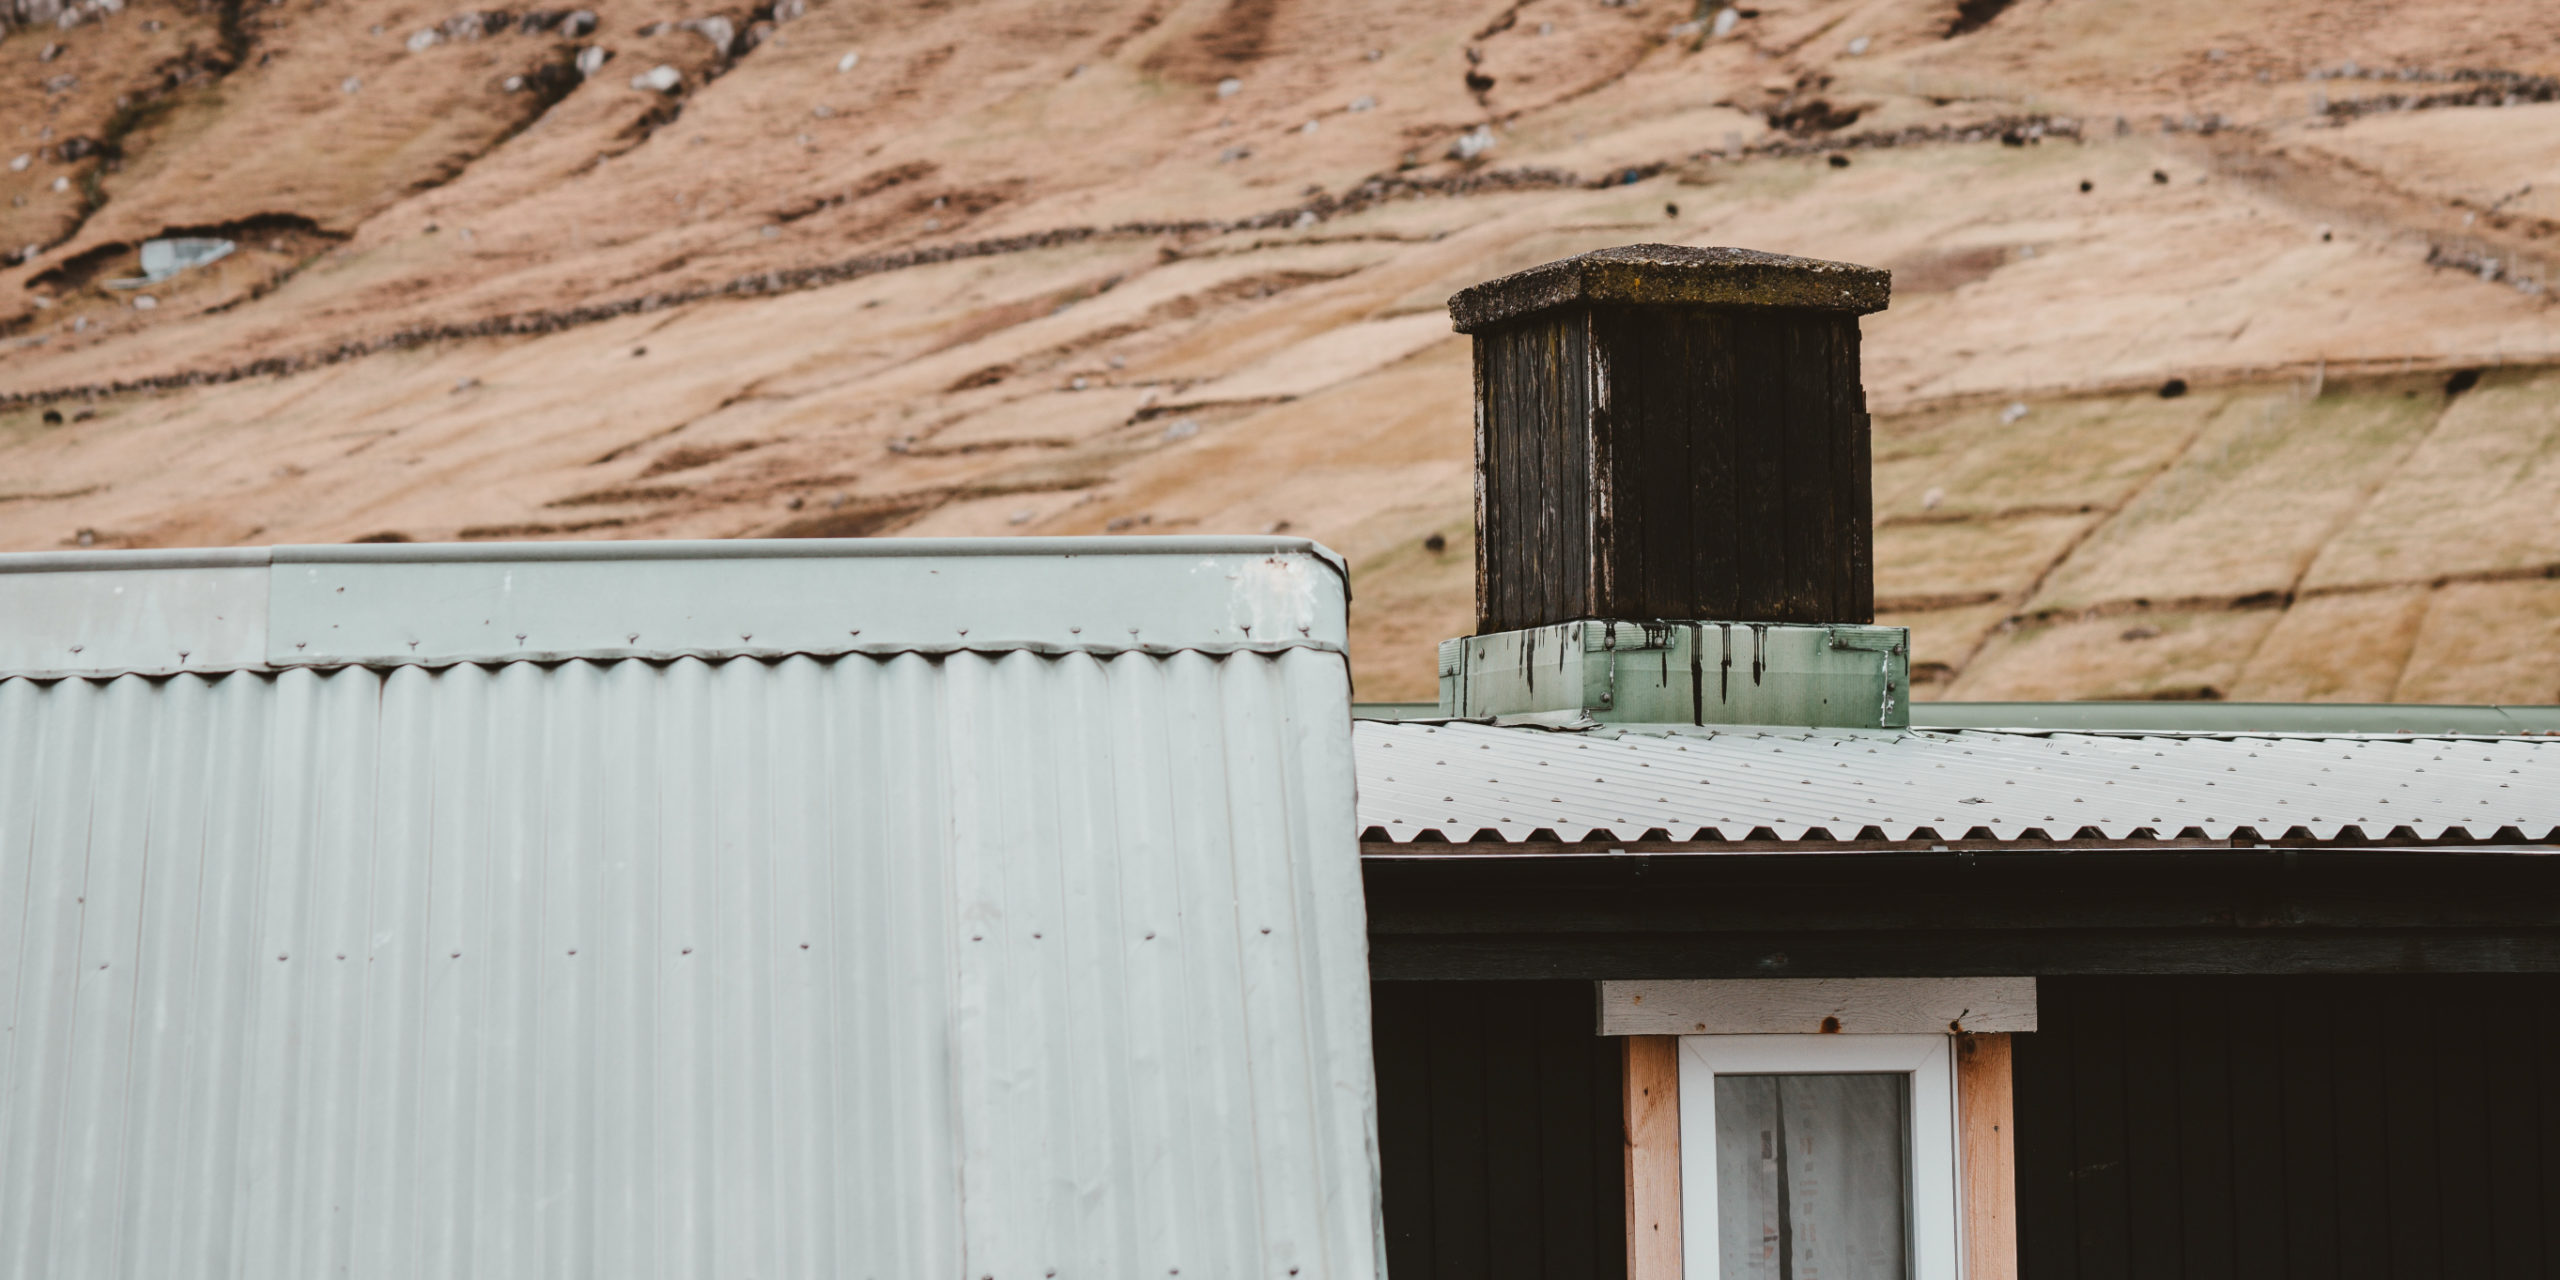
Install cap flashing
To top it all off, use a circular saw to saw grooves into the mortar joints. This is done to make sure no water or snow will buildup underneath the flashing. Fit the grooves about 1 inch deep and then secure the cap flashing with a flashing flange into the mortar. Then, drill a hole in each side of the chimney’s front and hammer plastic anchors inside. Repeat the process for the other sides of the chimney and add more chaulking over the mortar joints for extra isolation.
And that’s it! Your chimney should now be leak-proof for years to come.